By adhering to this guide, you will encounter no difficulties while playing Frostpunk 2.
Contents
- 1 By adhering to this guide, you will encounter no difficulties while playing Frostpunk 2.
- 2 1. Approach frostbreak with caution and strategize the districts in advance.
- 3 Begin your research ahead of time.
- 4 3. Investigate and Enhance the Manufacturing Facilities
- 5 4. Establish a Logistics Zone
- 6 5. Begin Stockpiling Food and Supplies Prior to Establishing Colonies
- 7 6. Halt the provision of materials and food from outlying posts.
- 8 7. Focus on the Colonies
- 9 8. Pay attention to every fraction.
- 10 9. Avoid Immediate Demolition of the Area.
- 11 10. Stay Calm
Game Manual by RON on September 18, 2024
Frostpunk was an enjoyable and captivating experience, but it presented its own set of challenges. In contrast, Frostpunk 2 raises the difficulty level even further. If you don’t make the correct choices early on, your experience could quickly spiral into chaos as the weeks unfold. Here are some strategies you may find helpful while navigating Frostpunk 2.
1. Approach frostbreak with caution and strategize the districts in advance.
Frostbreaking requires 300 Workforce and 30 Scraps, which can be quite steep at the game’s outset. Therefore, when embarking on a campaign or sandbox mode, it’s advisable to only Frostbreak the areas essential for your advancement. Careful planning of the locations for your various Districts is crucial. Failing to do so early on may result in limited space for future expansion, and it’s important to ensure that one District does not interfere with another. Since resources are always fixed in their locations, it’s necessary to strategically plan the related Districts. However, you can always designate areas for the Housing Districts, which typically have fewer resources.
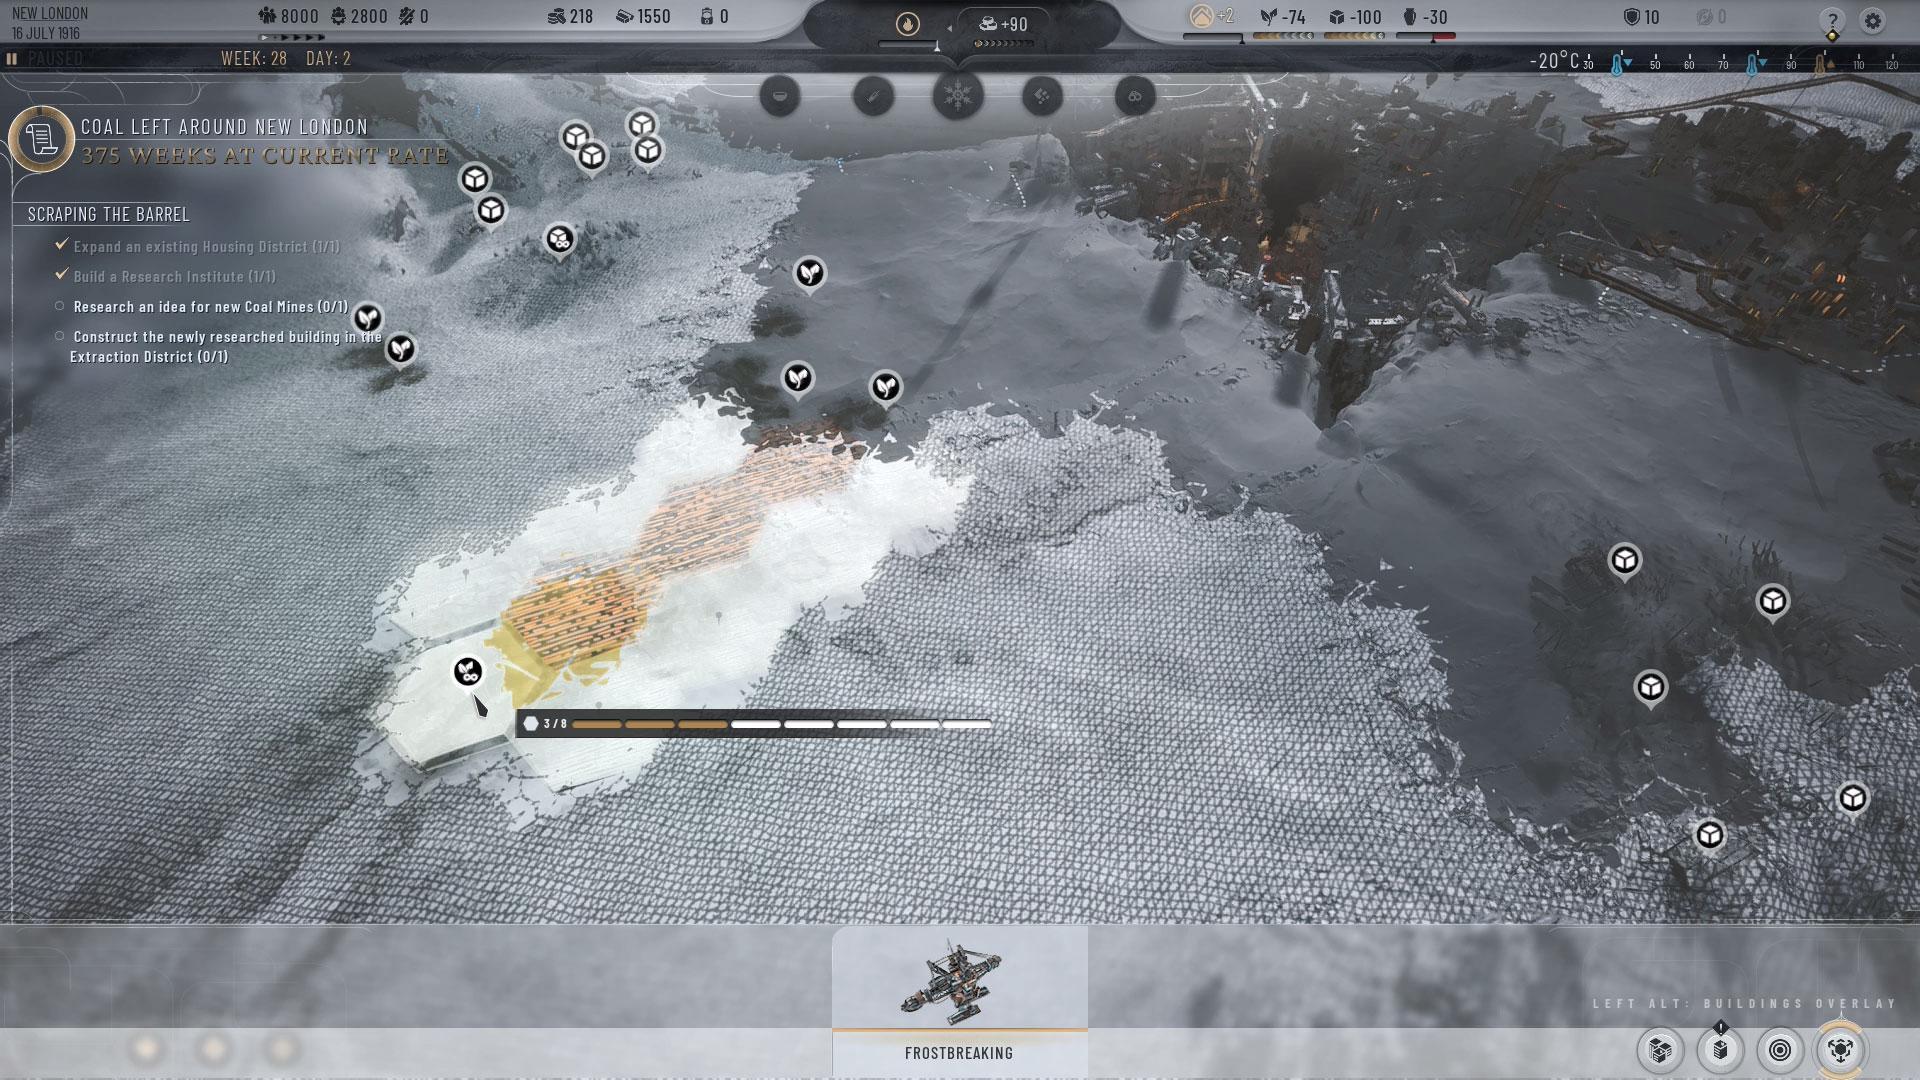
To begin with, I recommend using Frostbreak on the Shallow Coal Seam to establish the Extraction District, while simultaneously Frostbreaking the region nearer to the Generator to create the Housing District. The Extraction District will require a workforce of 600.
Once you have completed the construction of the two districts, activate the Generator and proceed to Frostbreak one area of Fetial Soil for Food and one area of Frozen Forest for Materials. Prioritize resources marked with the infinity symbol (∞) beneath them, as these will allow for future expansion. However, you may find that some resources with the infinity symbol (∞) are located farther away from your initial Frostbreaking site. In such instances, you can Frostbreak the nearest area, but ensure that your Frostbreaking strategy allows you to access the infinity resources during your next Frostbreak.
Following the Frostbreaking of the Fetial Soil and Frozen Forest, proceed to establish a Food District and an Extraction District. These two districts will require a total of 1200 Workforce. Next, perform Frostbreaking on the Shallow Coal Seam resource area to uncover additional resource locations. Once the Frostbreaking is complete, expand the initial Extraction District by selecting it and clicking the Expand icon located at the bottom left. This will enhance coal production. Simultaneously, create an additional Extraction District in the Shallow Coal Seam area to boost coal supply. This additional coal will be essential prior to the development of your Industrial District.
If there remains an Unsheltered population, prioritize the expansion of the initial Housing District and the nearby Frostbreak areas. Always focus on expansion before adding another District. Failing to expand before constructing an additional District will prevent you from doing so later. Position the Housing Districts next to one another, as this will create heat and lessen the Generator’s demand. If there are vacant homes after establishing the second Housing District, select that District and modify the slider at the bottom, which ranges from 0% to 100%, to meet your requirements.
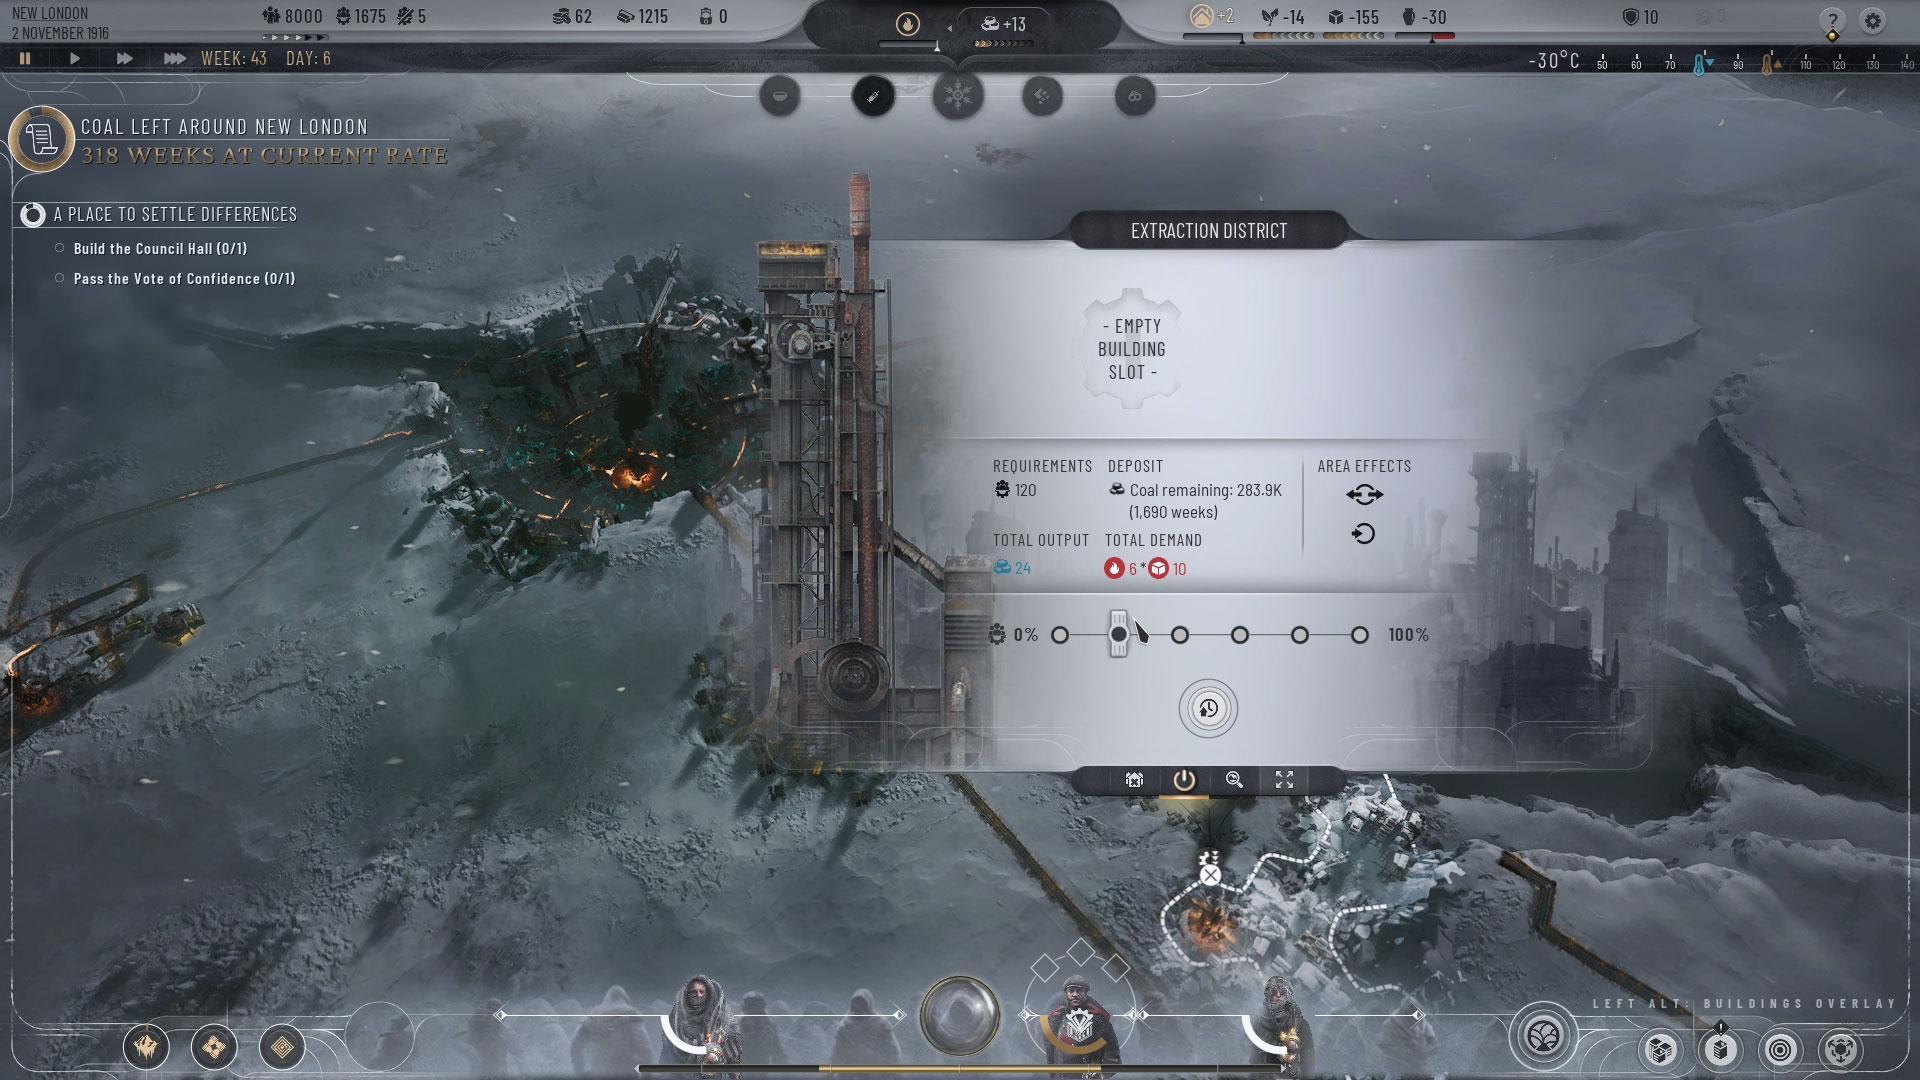
At this point, proceed to Frostbreak another section of the Frozen Forest and establish an Industrial District. These districts inherently generate Prefabs (the in-game currency) along with Goods. It would be wise to focus on Prefab production at the start, until the research center is completed, after which you can transition to Goods production. While you can create additional Industrial Districts to generate Goods, this is not advisable at the moment. Therefore, adjust your production based on the needs of your City.
Begin your research ahead of time.
As soon as you have the above setup, build the Research Institute. Unlike the previous game, Frostpunk 2 introduces different communities/factions, and your research choices affect their opinions about you. However, some research doesn’t involve any debate, and they help you a lot early in the game. So once the Research Institute is constructed, research All Do Maintenance from the City >Maintenance Duty area. This will greatly reduce the need for materials, which is essential both at the beginning and during the entire game.
The game will ask you to build a Council Hall while the research is ongoing, but wait until you research Asbestos Lining from the Heating >Section on Housing Insulation. This will reduce the heating requirements for the Housing Districts.

After researching these two, you can build the Council Hall. The first vote will be about your being the Stuart. And don’t negotiate with any fraction because they will all agree to give you a chance to run the City. You’ll get a few weeks before the next council meeting, and by this time, research Weather-Adjusted Shifts from the Resources >Section for Employee Work Schedules.
With the establishment of the Council, the various societal factions will be visible in the research area, along with the research proposals they endorse. Each research endeavor will require the Council’s approval. After completing the research on Weather-Adjusted Shifts, you should present it as a proposed law to the Council for approval. This initiative is backed by the Frostlanders and Pilgrims factions, while the New Londoners and Stalwarts factions are likely to oppose it. Therefore, you will need to engage in negotiations with one of the factions to secure their support for the vote.
In this voting round, the Frostlanders are requesting a Dust Cole Mine, and it’s advisable to agree, as this will be the focus of your upcoming research. Typically, the rival factions will request that you investigate specific structures, support their initiatives, or finance their projects. If the funding option is available, it’s a good choice to pursue. If it’s not, opt for a building type that you can explore later. However, be cautious not to choose a building type that requires a significant amount of resources early on, as your supply will be quite limited at the start of the game.
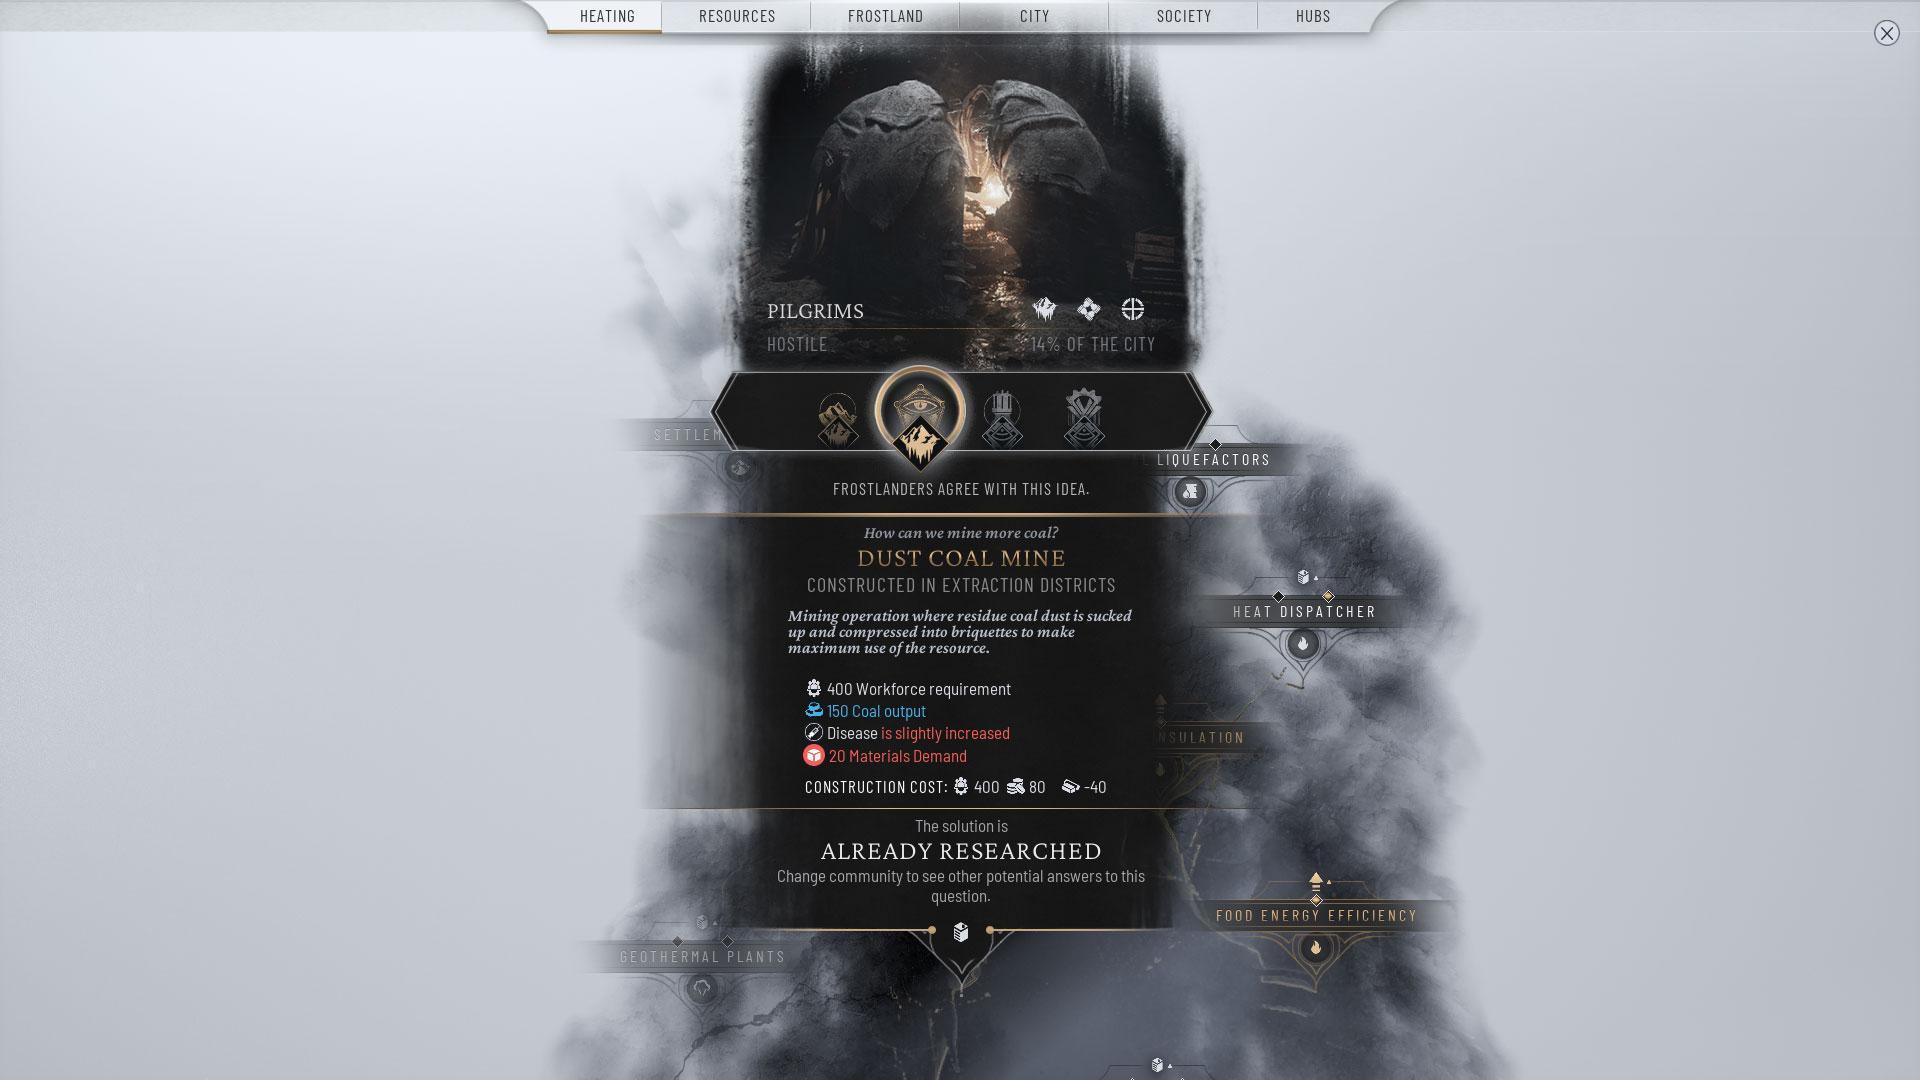
After Weather-Adjusted Shifts is researched and approved, research Dust Coal Mine from the Heating >Coal Mines area. After completing the research, this mine will be available in the building menu. Expand any Districts that are gathering coal and position the Dust Coal mine within them. This will boost your coal output and necessitate fewer resources. With two Extraction Districts gathering coal and a Dust Coal Mine in place, you can effortlessly activate the Generator Overdrive when the temperature falls to -40.
Now, before researching more, check Step 4 below, follow the above steps, and subsequently research’ Crop Selection ‘ from the Heating > Food Energy Efficiency section, Efficiency Bonuses from the City> Work Compensation section , Liberated Youth from the Society > Youth section, and Skyways from the Frostland >Aerial pathways segment.
3. Investigate and Enhance the Manufacturing Facilities
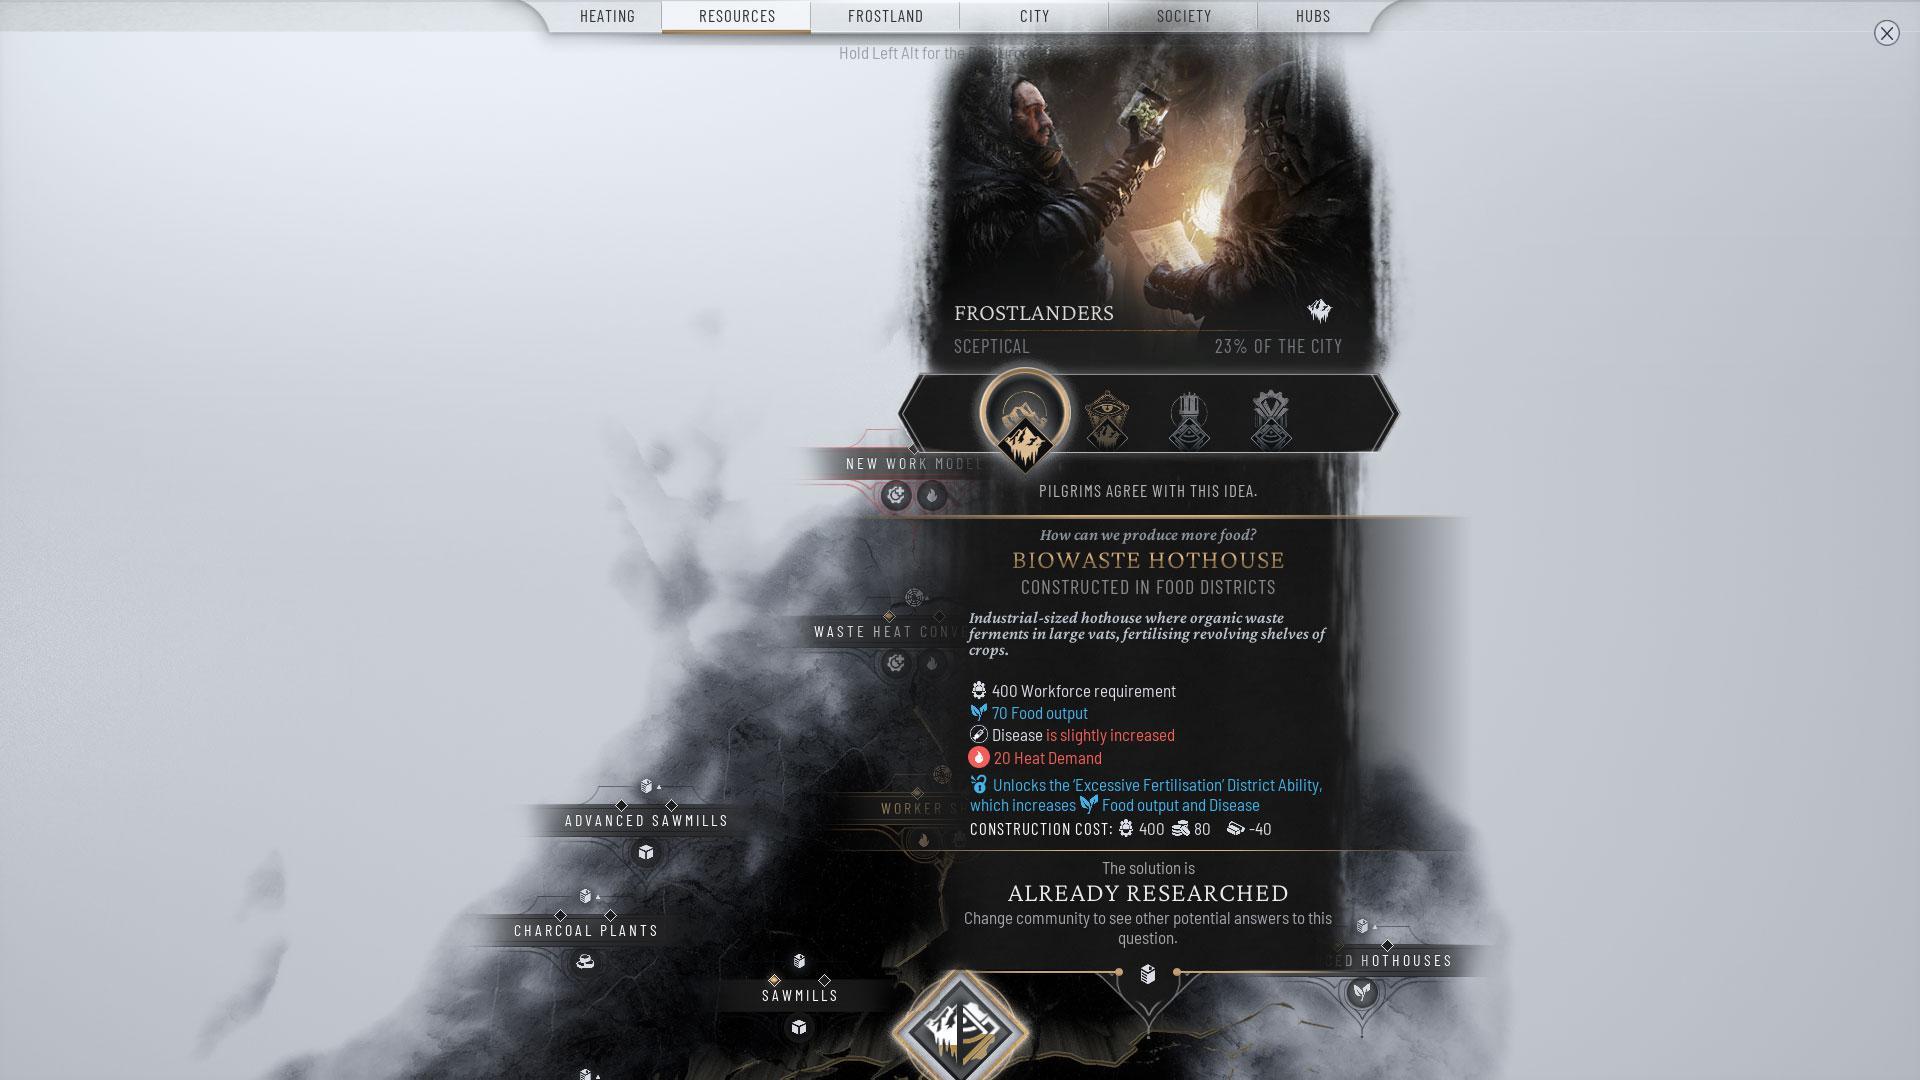
One crucial aspect of Frostpunk was the food supply, which remains the same in Frostpunk 2. So, as soon you have the coal supply sorted out, research Biowaste Hothouse from the Resources >Add the hothouses area right after you expand your Food District. If your food production reaches a capacity of +20, it’s a good idea to construct a storehouse close to the Food District to store your food. Aim to maintain a food reserve of 50,000, as this will simplify your gameplay significantly.
4. Establish a Logistics Zone
The resources in your primary town will run out quickly, so it’s crucial to establish your Logistic District as soon as possible. Keep in mind that with just the basic Logistic District, your exploration will be limited to safe zones, which offer minimal resources. To access the more perilous regions, you’ll need to construct the Survivalist’s HQ.
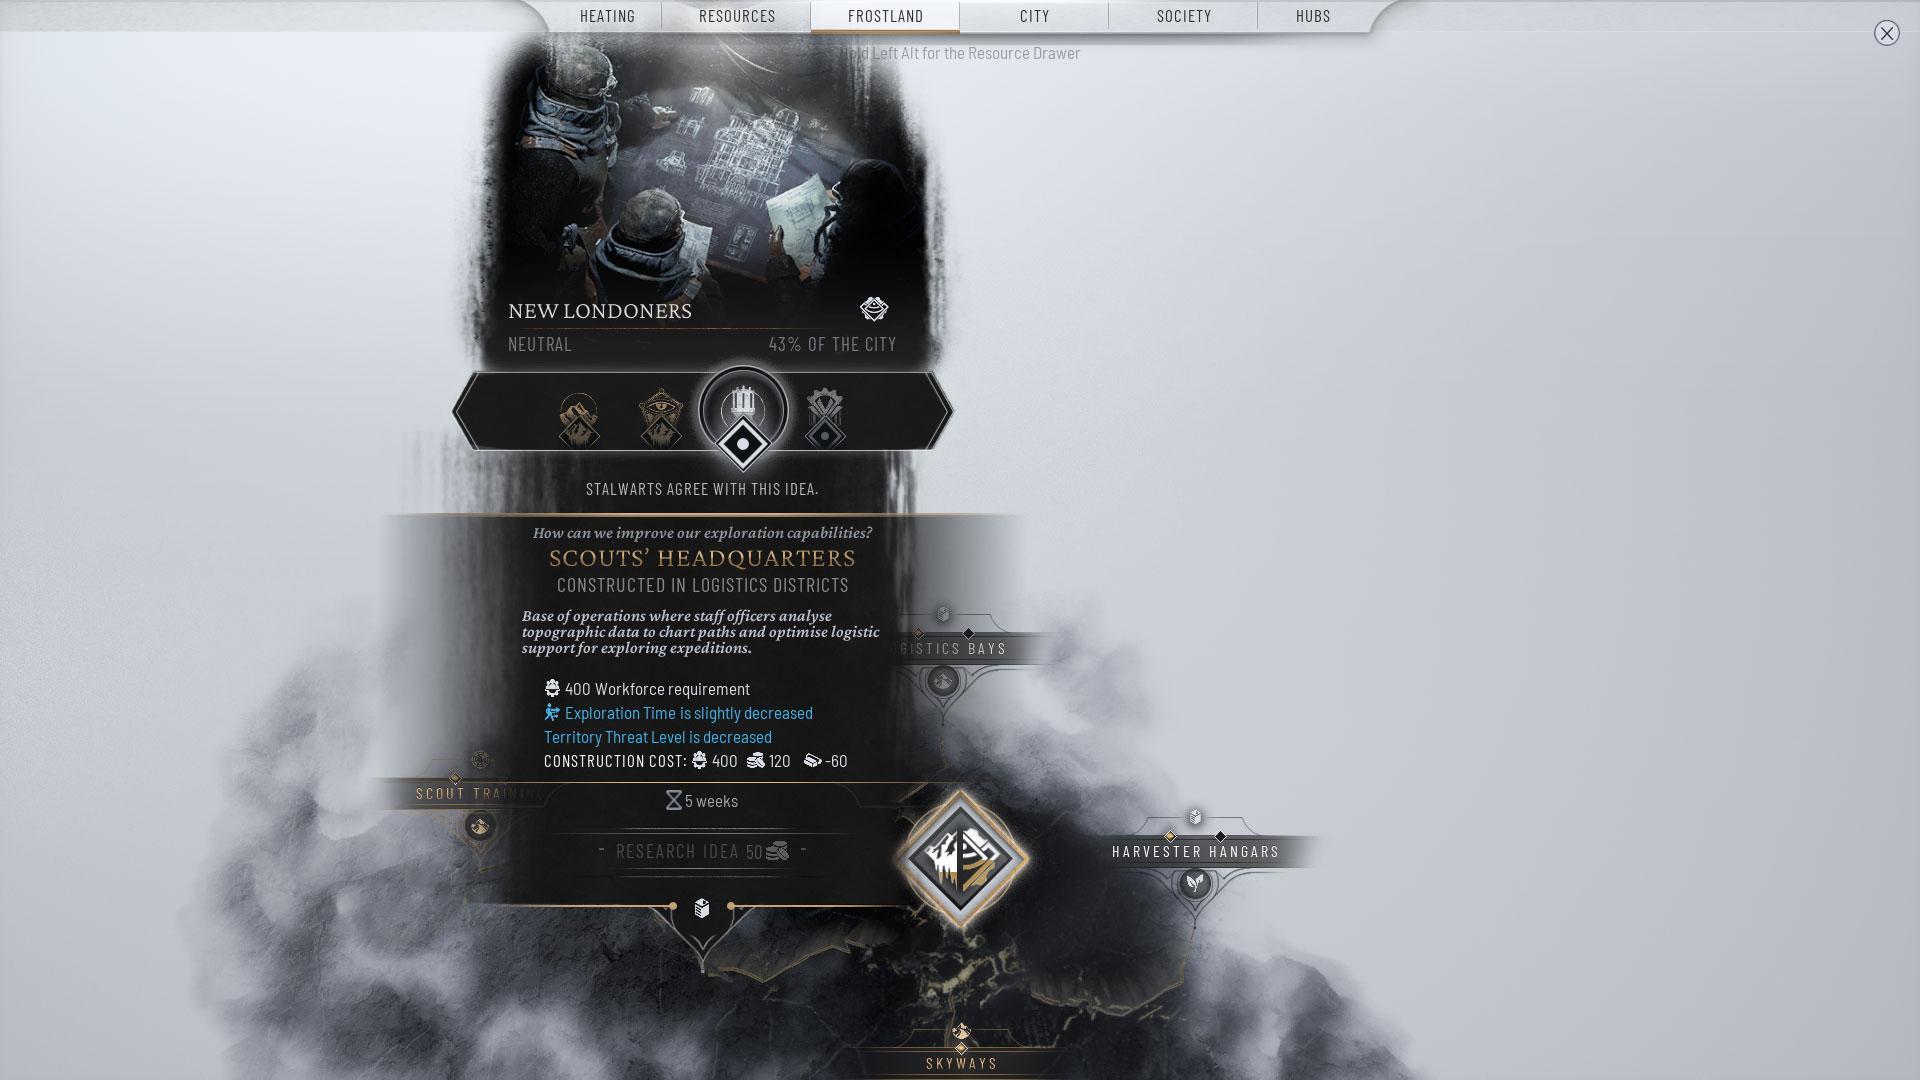
Research the Survivalist’s Headquarters or Scouts’ Headquarters from the Frostland >Establish the Scouts’ Headquarters within the Logistic District as your Frostland Team investigates the adjacent safe zones. This facility will provide additional scouts, allowing you to dispatch them to various locations without incurring losses.
5. Begin Stockpiling Food and Supplies Prior to Establishing Colonies
In the game, you’ll find storage facilities designed for various resources that you gather and create. Although you begin by storing Food, it’s important to also set aside materials and goods early on. Make sure to do this prior to establishing colonies. Each colony will focus on producing a specific item, and even if they have access to multiple resources, the capacity of the Trails will restrict your ability to gather everything. Therefore, you’ll need to transport the items that your colonies do not produce from your main city.
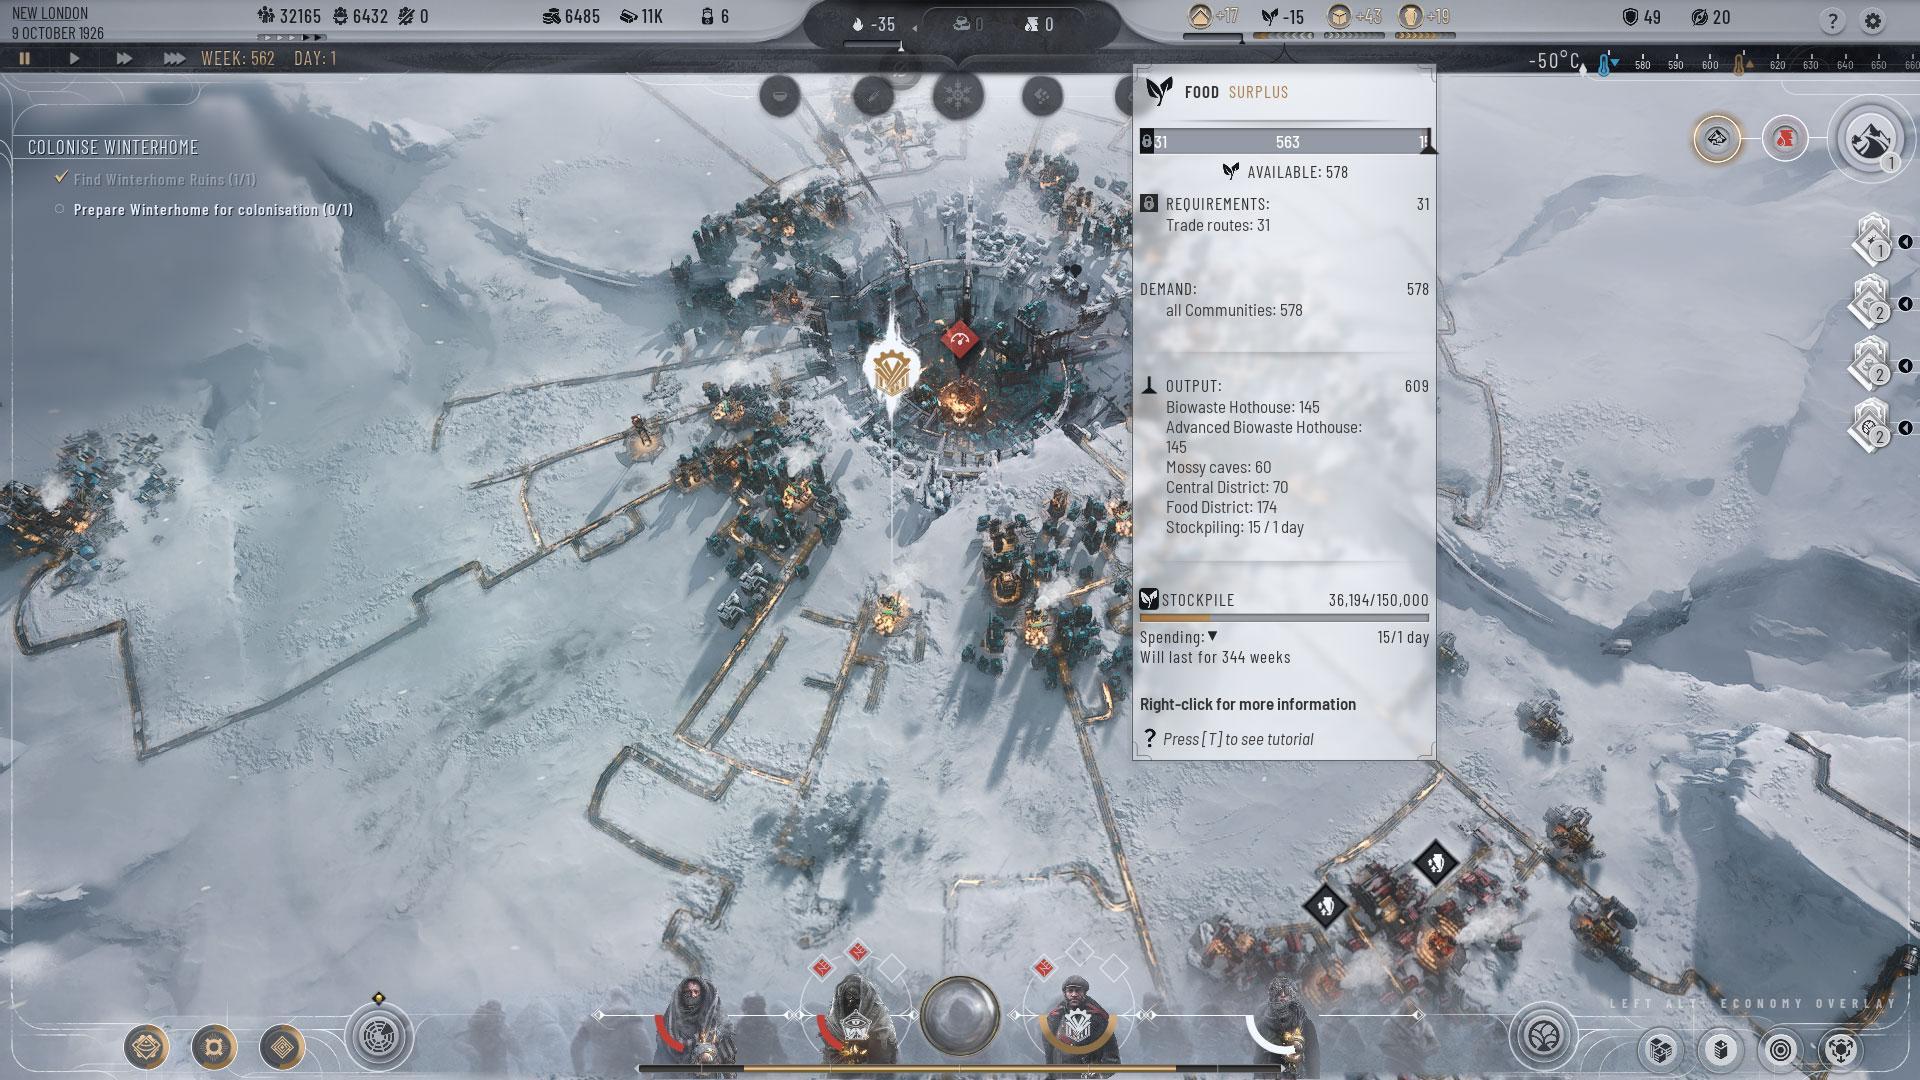
If you fail to provide the necessary items to the colonies, you won’t receive the imported materials from them. Additionally, if your main City experiences a shortage of these items, it could lead to issues with the residents. Therefore, it’s advisable to ensure you have a minimum stock of 20,000 materials and goods before establishing any colonies.
6. Halt the provision of materials and food from outlying posts.
At certain points, you will have several outposts providing food and resources to the central City. However, each outpost requires 5 members from your Frostland Team. The Logistics Headquarters grants you 15 Frostland Teams, and if you construct 3 outposts in the central City, you will have a total of 45 Frostland Teams. Keep in mind that a significant portion of these will be utilized as you begin to establish outposts for your supply needs.
As you progress in the game, you may find that your Frostland Team is insufficient for the expedition when new regions become available on the map. Therefore, it’s wise to halt the material supplies from your outposts when you have a sufficient inventory. You can always restart the supplies later, after your Frostland Team has ventured into the new area.
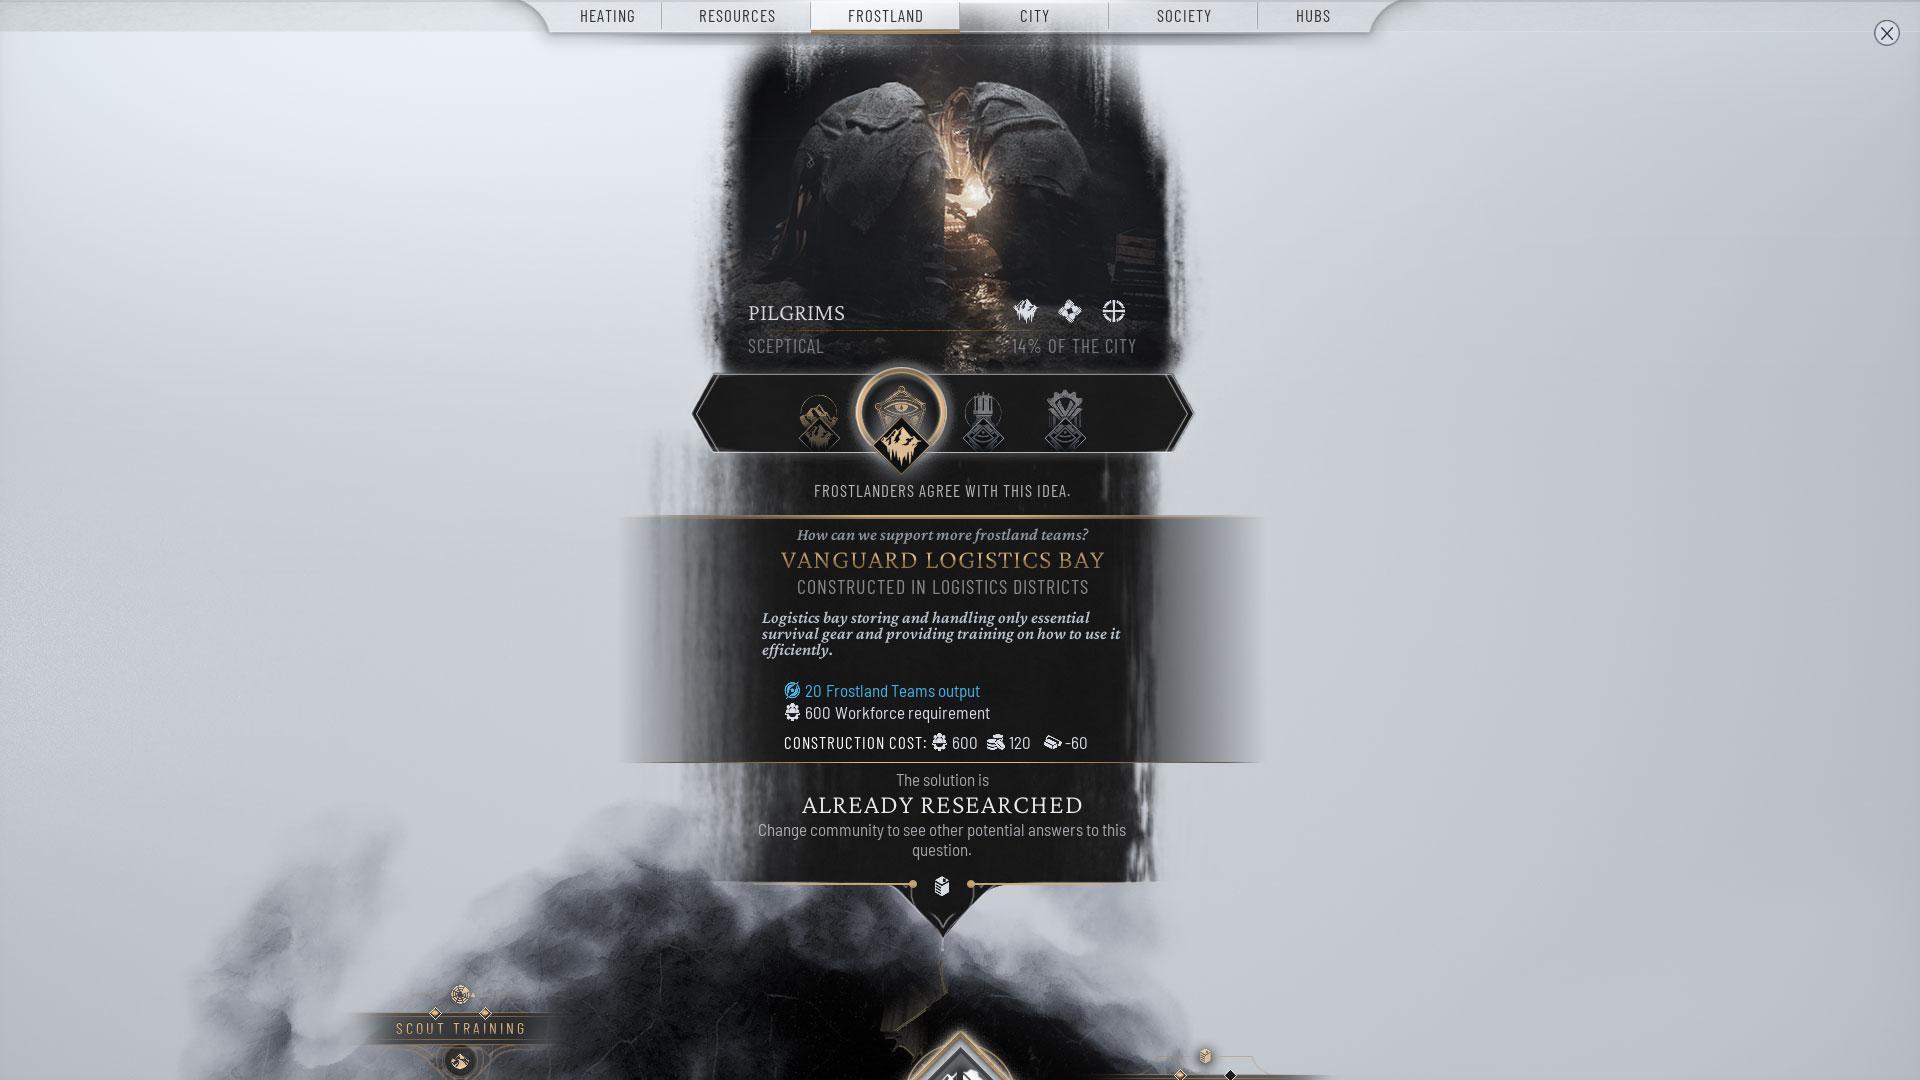
But if you can’t pause the supplies from the outposts, you can also research the Vanguard Logistic Bay from the Frostland >Logistic Bay allows you to expand your Frostland Teams from 15 to 20. Therefore, with 3 Logistic Districts, you can accumulate 60 Frostland Teams, providing you with sufficient resources to explore the majority of the map.
7. Focus on the Colonies
It’s important to recognize that simply providing materials or food to the colonies to facilitate resource production is insufficient. They require the same level of micromanagement as the primary city. Over-extraction of resources from the colonies can lead to increased squalor, which in turn can cause a rise in illness among workers and a spike in criminal activity.
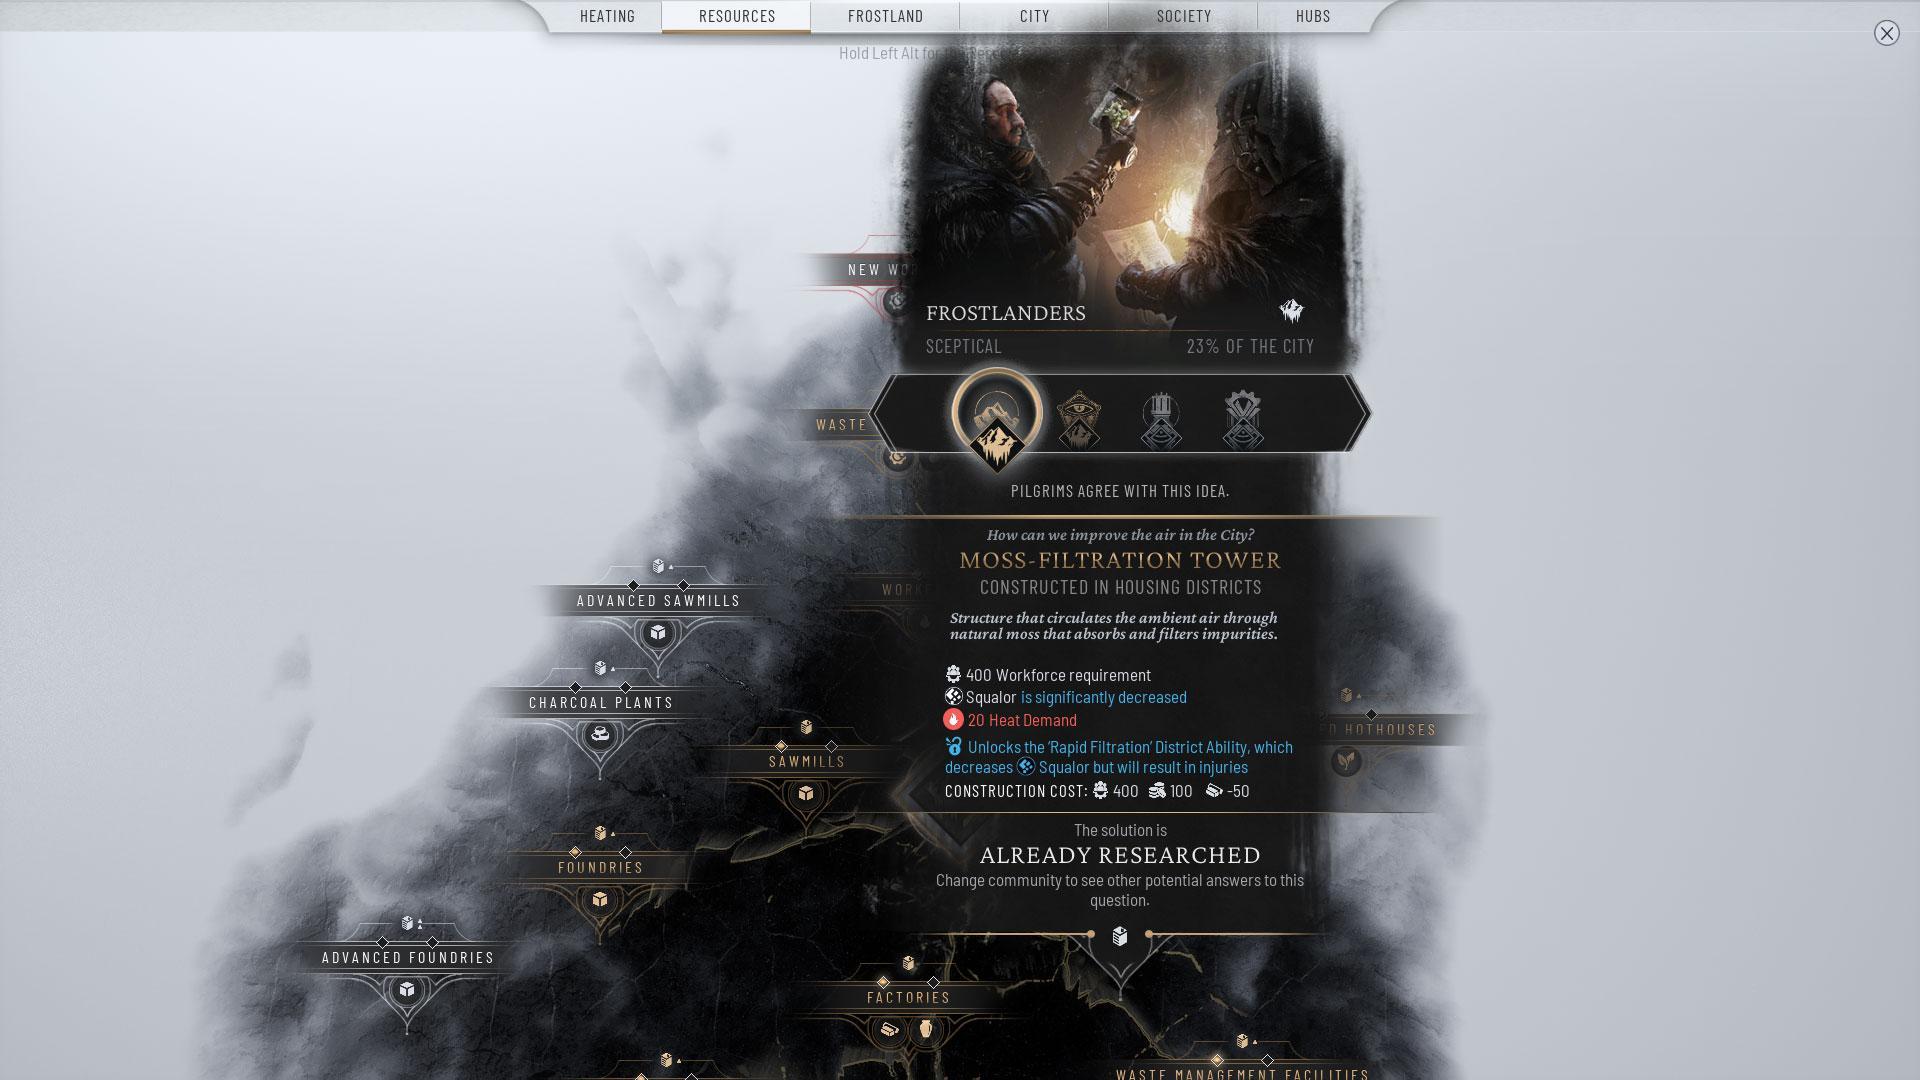
So you need to build hospitals and Moss-Filtration Towers (which can be researched from Resources >Filtration Tower is essential for managing the squalor levels. However, the population in the colonies is restricted. Therefore, it’s advisable to avoid over-extracting resources at once, allowing for some workers to be available for the hospital or other essential services to keep everything in equilibrium.
8. Pay attention to every fraction.
As your city’s population expands, an increasing number of factions will emerge, each with their own perspectives on your decisions. While some of their recommendations may conflict with your overall strategy, it’s important to take their views into account to maintain harmony among the factions. If you consistently disregard the demands of a specific faction, they may eventually rise up against you, leading to challenges that will be hard to control.
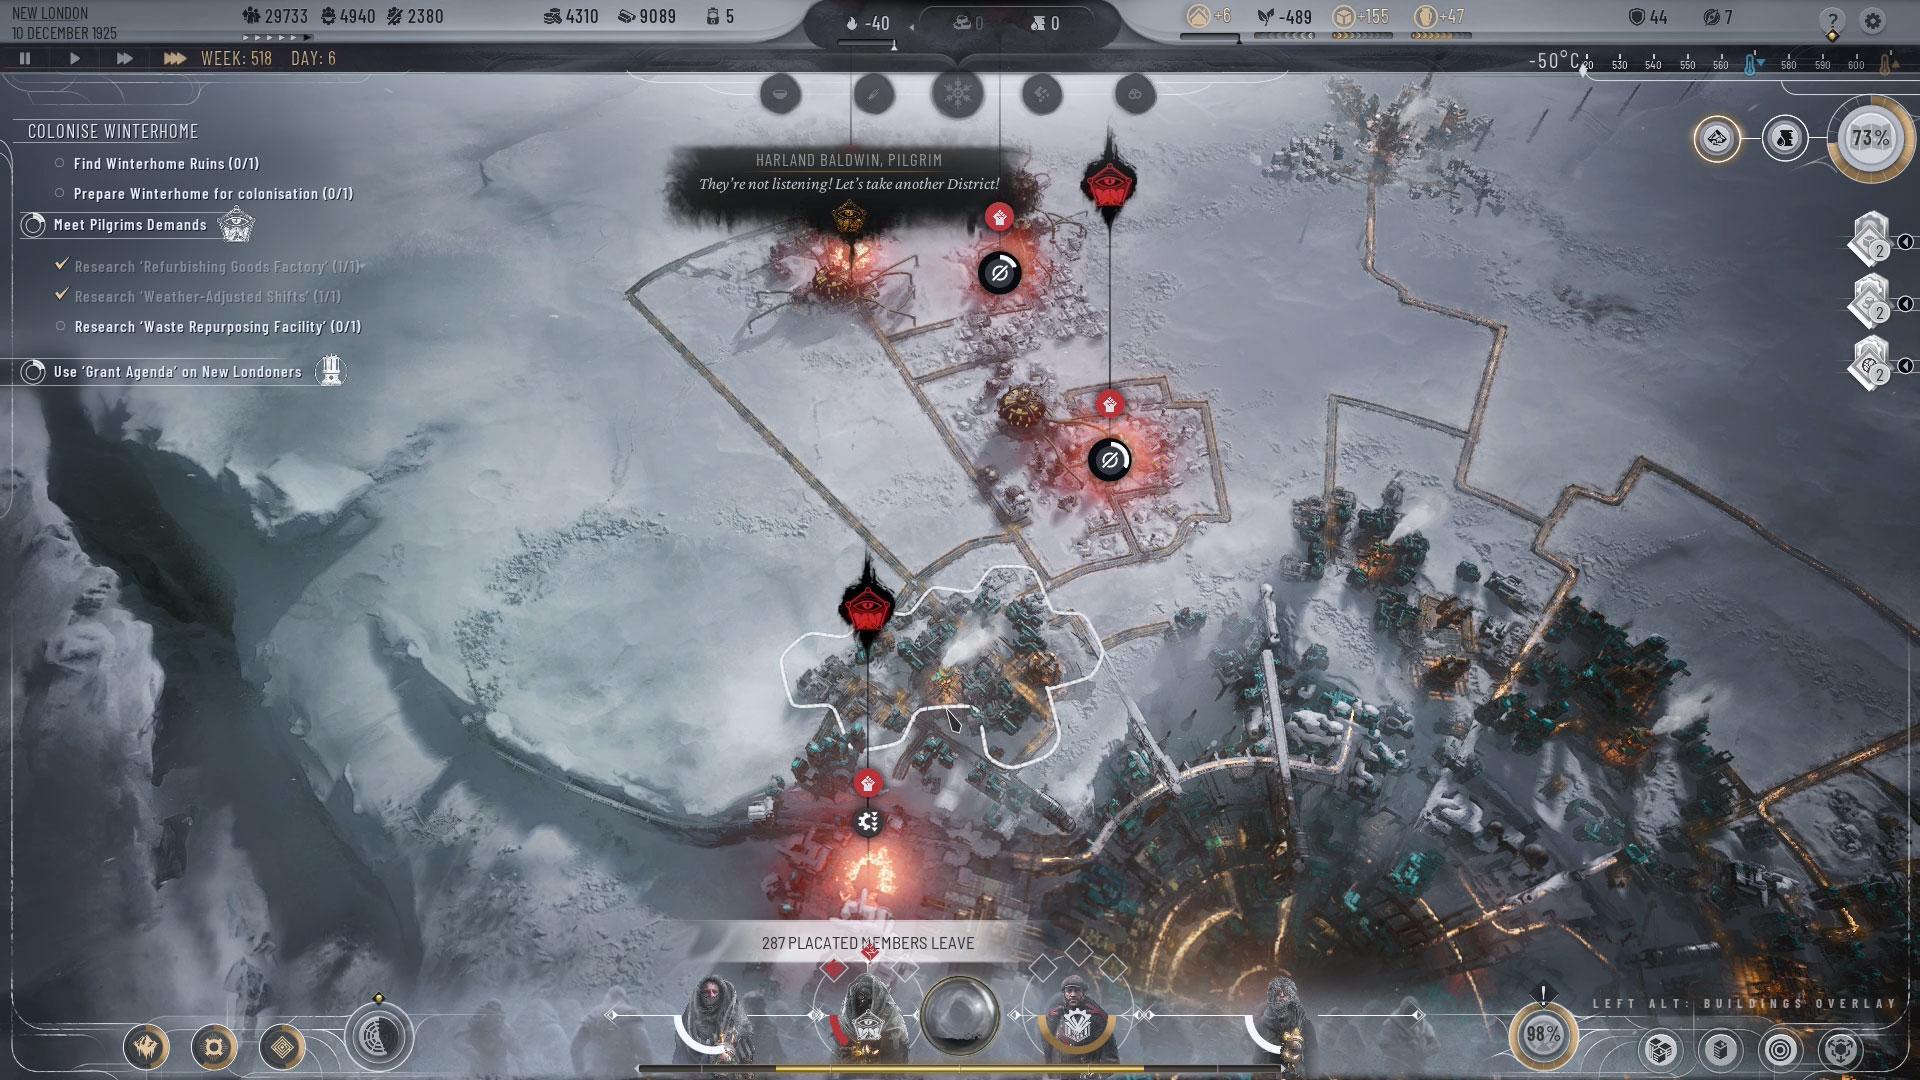
For example, they may begin to demonstrate and seize control of your residential or industrial areas. This situation will compel you to either comply with their requests or respond with measures against them. Therefore, it’s advisable to address any issues with the factions early on to prevent facing protests in the later stages of the game, when fulfilling their demands becomes more challenging.
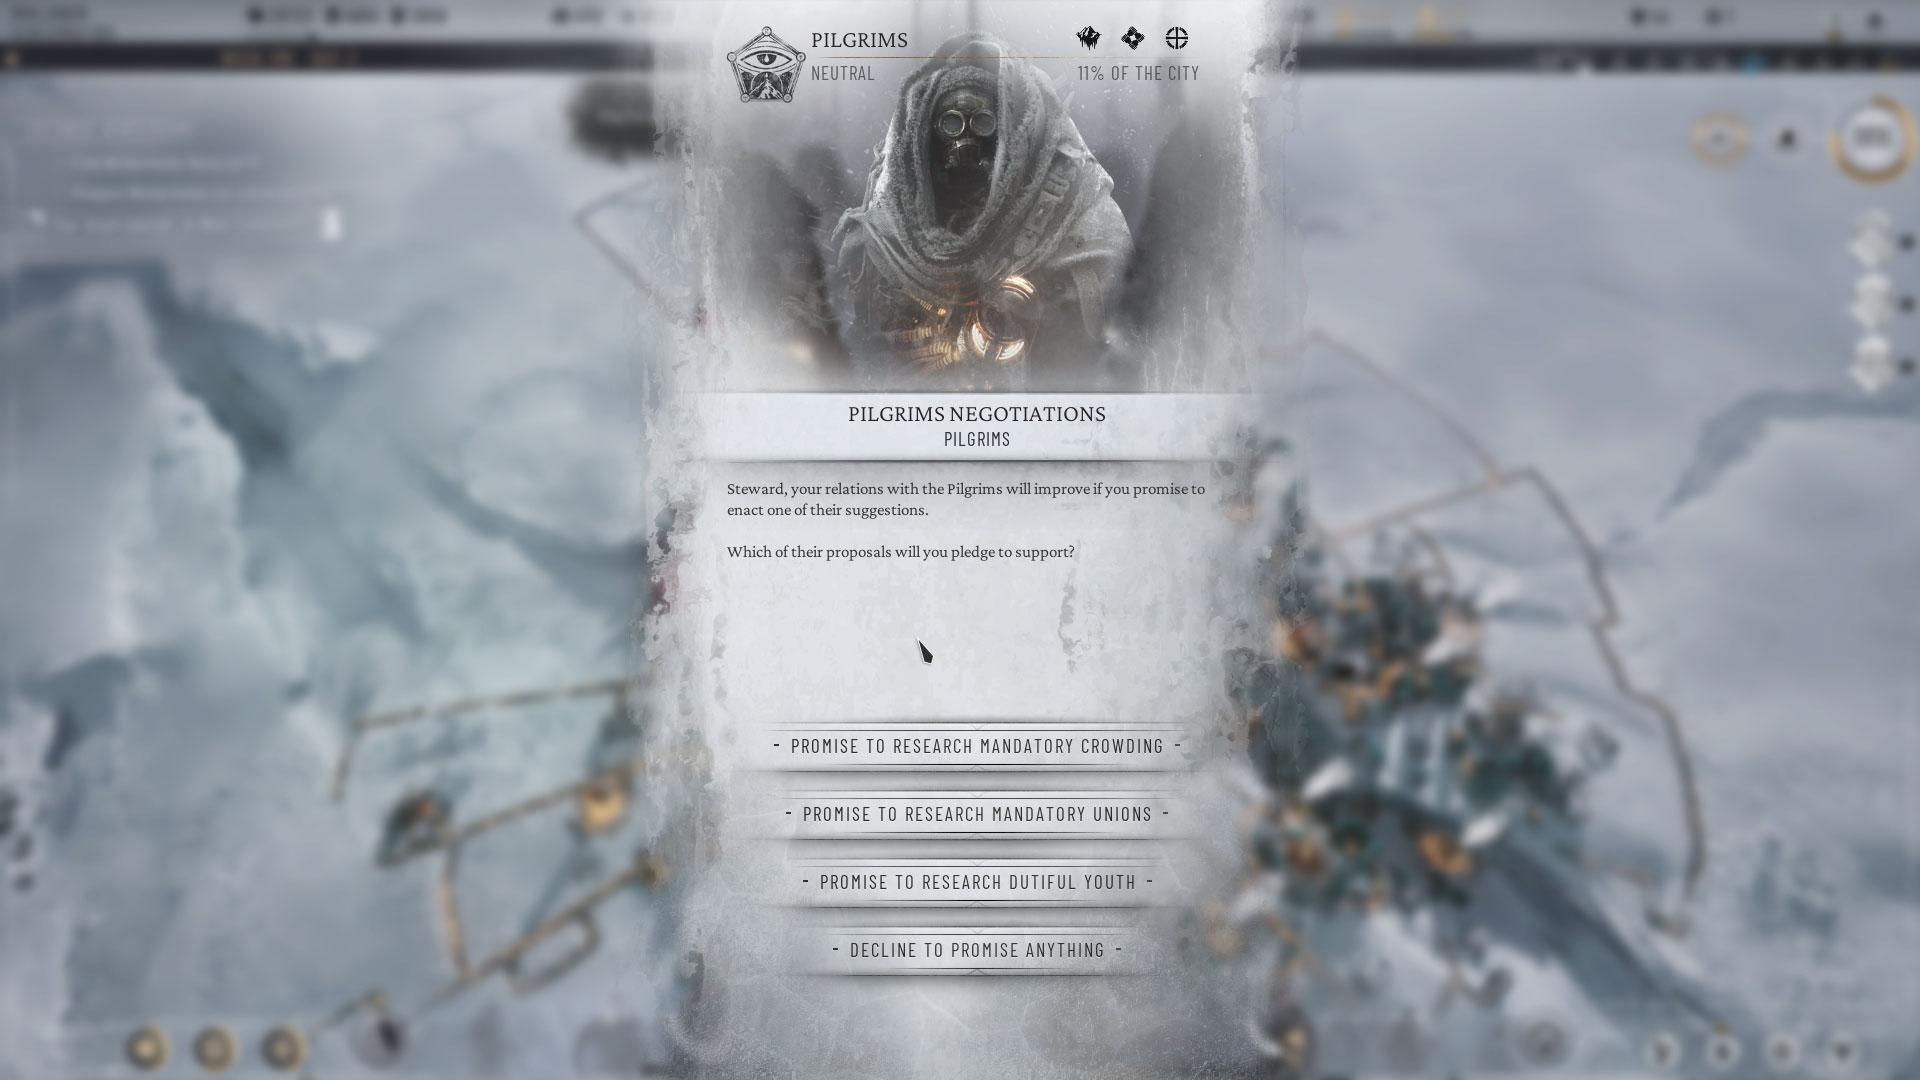
Additionally, avoid providing financial support for their initiatives or plans just because a portion of them is dissatisfied with you. Maintain these possibilities until you observe them requesting them during negotiations for a council vote.
9. Avoid Immediate Demolition of the Area.
Typically, when resources in an Industry District are exhausted, you would proceed to dismantle it to reclaim Heatstams and Prefabs. However, it’s important to first tear down any special structures you’ve built in that District. If you dismantle the District immediately, you will miss out on retrieving the Heatstams and Prefabs from those special buildings.
10. Stay Calm
Forstpunk 2 presents a significant challenge, and it can feel insurmountable if you let panic take over during critical moments such as Whiteouts, declining trust, or protests. The game often creates a sense of helplessness. When faced with such scenarios, take a moment to pause and evaluate the situation. Identify the key issues and concentrate on addressing them to find a resolution.
Address each challenge gradually, concentrating on the most pressing issue first. It’s impossible to tackle everything simultaneously. Therefore, even if some difficulties persist, maintain your composure and work on resolving them individually. This approach encourages innovative and creative thinking in problem-solving.
Here are some essential tips to keep in mind while playing Frostpunk 2. By adhering to this guide, you should navigate the game smoothly, regardless of the circumstances. Additionally, if you find this guide helpful, take a look at my review of Frostpunk 2, and don’t hesitate to leave any questions in the comments below.

